Advanced Permissions for Segmenting Access.
Under your Presspoint General Settings, you can visit the Permissions menu to assign access permissions to various WordPress Roles in the system. Once there, you will see each Role with the option to enable access. If you have chosen to enable administrative restrictions, then you can choose the administrative restrictions you desire. In the example below, we will step through the three steps to complete this process – at the end, we will generalize the example to help you explore this feature as it relates to your specific workflow.
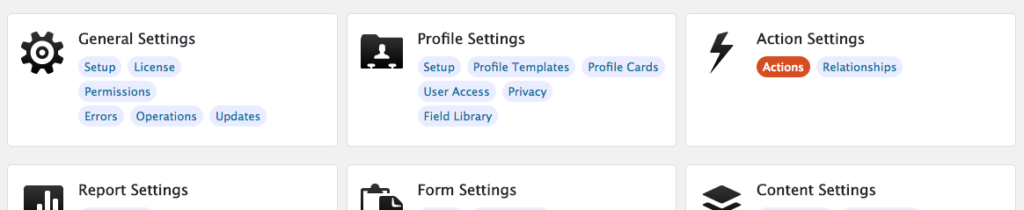
Getting Started: From the main Presspoint Settings page, select the “Action” option under the Actions panel.
Step One: The first thing we’ll want to do is allow a WordPress user role access to the User database. In the example below we have a User Role for an “Agent” (this is automatically created when you install our Opportunities add-on). We have checked the Agent role to enable those users to access Presspoint in the backend and edit user profiles. If you simply want to allow Agents to access all of the users in the database, you can stop here.
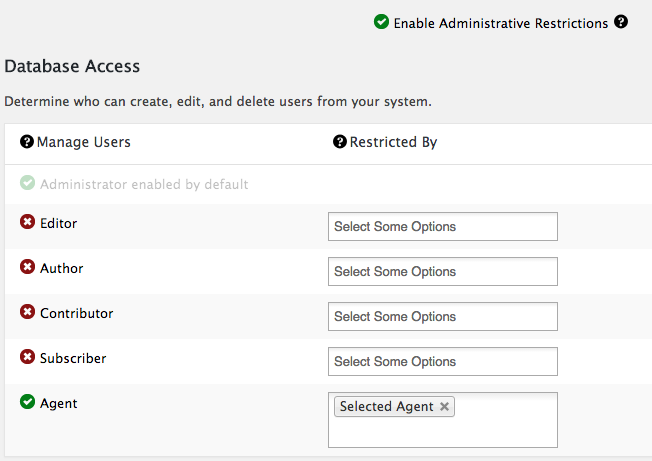
Step Two: In this example, you want to make sure that Agents can only see and edit users who have been assigned to them. So in the “Restricted By” field above, we have selected a profile field called “Selected Agent” (again, this field is automatically created for you when you install our Opportunities add-on). This means that only users who have entered a value into the field “Selected Agent” on their profile are available to Agents to manage.
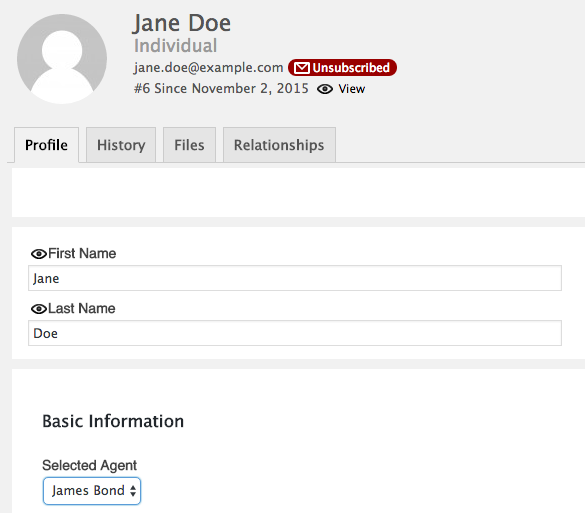
When you are building your profiles, you will want to include the profile fields you are restricting by on the profiles of the users you want to segment. So, continuing with this example, the image below shows a user profile where the field “Selected Agent” has been included and where a selection has been made. In this case, we are selecting this user to be accessible to the agent James Bond:
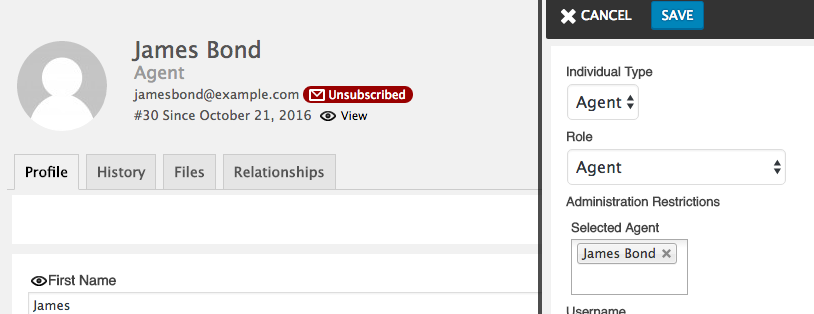
Step Three: Now that Jane Doe has been assigned to the agent James Bond her profile is eligible for access by the agent James Bond. However, we need to confirm that James Bond can access users who have been assigned his value via the Selected Agent field. Going to James Bond’s profile and clicking on his “Account” option in the upper right-hand corner we can open his account preferences and see that he has the Role Agent, meaning he is eligible to manage users in the database who have made a selection with the profile field “Selected Agent”.
We also see that the field “Selected Agent” appears on his account page and that an administrator has identified “James Bond” as the value in the field. This means that he is able to manage users in the database who have specifically been assigned to the same value for the field that he has.
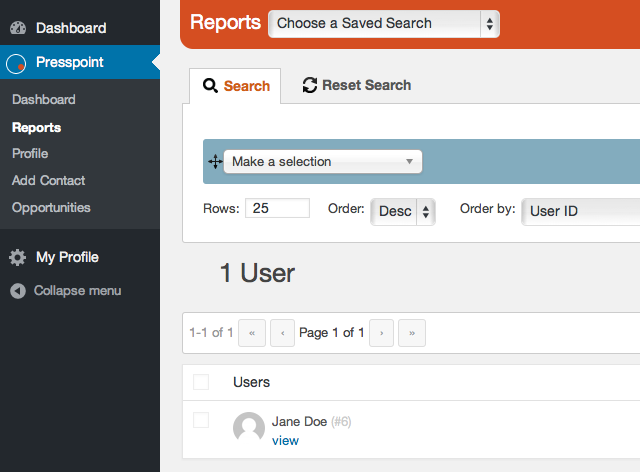
Now, when James Bond goes into Presspoint Reports to find a user, he will only be able to search for users who also have the value of James Bond saved on their profile.
Customizing this for your use case is quite easy to do. For example, you may want to have users fill out a profile field called “favorite color” and only be managed by database administrators with the role of “Editor” who are also assigned to a particular color. To do this you would:
Step One: Assign database permissions to the “Editor” role.
Step Two: Select the field “favorite color” in the Restricted By column and then make sure that the field was included on user profiles so that the selection can be made.
Step Three: In every Editor’s account, make sure to assign them a color to manage so that all users who have selected that color on their profile will be available to them. For example, if an Editor has been assigned the color “red” all users who have set “red” as their favorite color will now be accessible to that Editor.