Sending Email
Sending both types of email; transactional and marketing, are basically the same in Presspoint with the simple difference being that in transactional emails, the initial recipient is pre-set while in marketing emails, you must choose either a saved query or a dynamic one from reporting. There are four steps:
1) Choose the Type of Email
Transactional emails often happen automatically (eg. when a receipt is sent after checking out), but you can also send them from the user’s profile. Marketing emails can be created either from the Email Campaigns link in your Presspoint menu or, by selecting the Email option from the “Operations” tab after running a report.
-
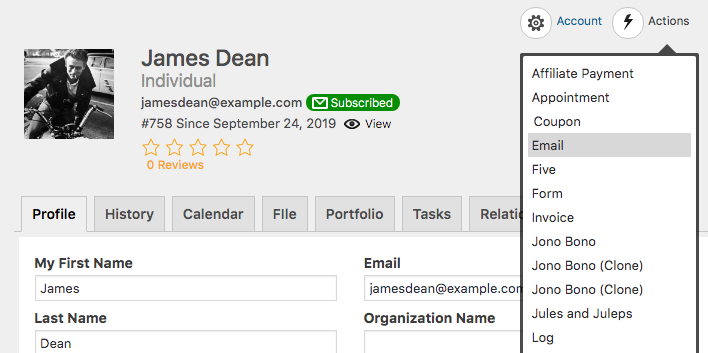
- From the Profile
-
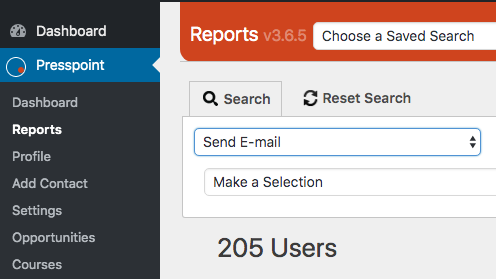
- From Reports
-
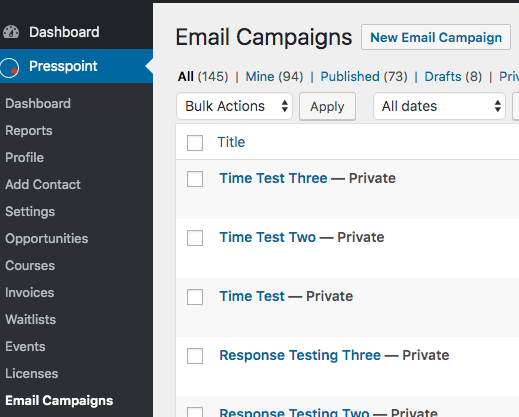
- From the Menu
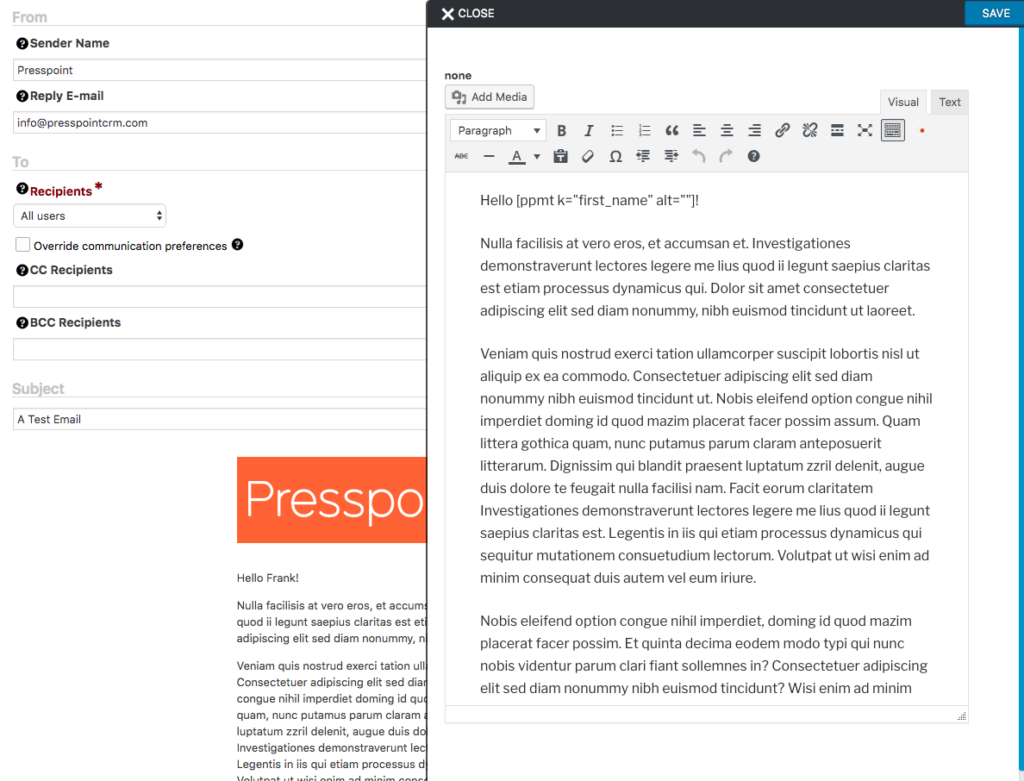
2) Choose a Template
Once you’ve decided to send an email, the first option will be to choose a template. Doing so will dynamically load the template and you can decide if you’d like to select another one if you’ve chosen something other than what you were expecting.
3) Modify a Template
Once you’ve selected a template, simply click on any of the areas of the template to open the editing options. You can add images, texts, links, etc. to any area of the email that you wish – any changes you make to the template will only be saved to this email – the template itself will remain as it was created.
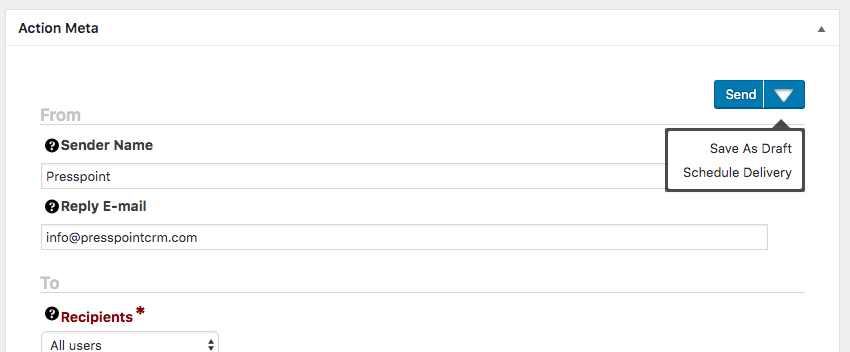
4) Save as a Draft, Send, or Schedule Delivery
Once you’re happy with your email, you can send it right away if you wish by clicking “Send.” If you’re not ready to send it, you can click the arrow beside the send button to save it for future modification or, you can schedule it for a later time.
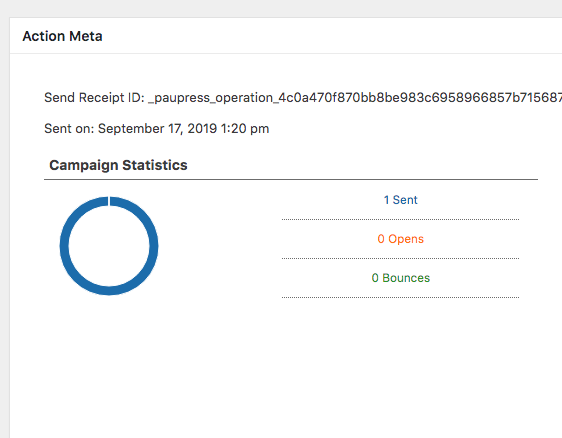
5) Checking Statistics
Presspoint will generate statistics on marketing emails to let you know, at the very least, how many emails were sent and it will also create a copy of the email on the user’s profile. If you’re using SendGrid and have enabled webhooks, Presspoint will display the various states of individual emails on the respective user’s copy as well as aggregating those results on the email campaign.