Setup: A Basic Form
Setting up a form is quite easy to do and you can have as many forms as you like. To get started, from your Presspoint settings page, simply select “Forms” to arrive at the Form Management screen.

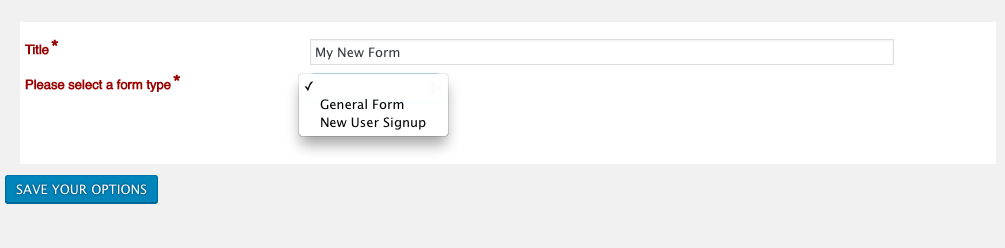
From here you can manage your forms and view them online. To create a new form, simply click “Add New”. On the next scree, you will set a name for your form and choose which type of form you will create.
In most cases, you will simply want a General Form. This allows anyone to submit data into the system and can be used for building profiles, conducting surveys or simply logging and sending a contact request.
If you are explicitly registering new users, use the New User Signup form as it will inform a user if they already exist in the system and prompt them to login.
Once you save your options you will be taken to the main edit screen:
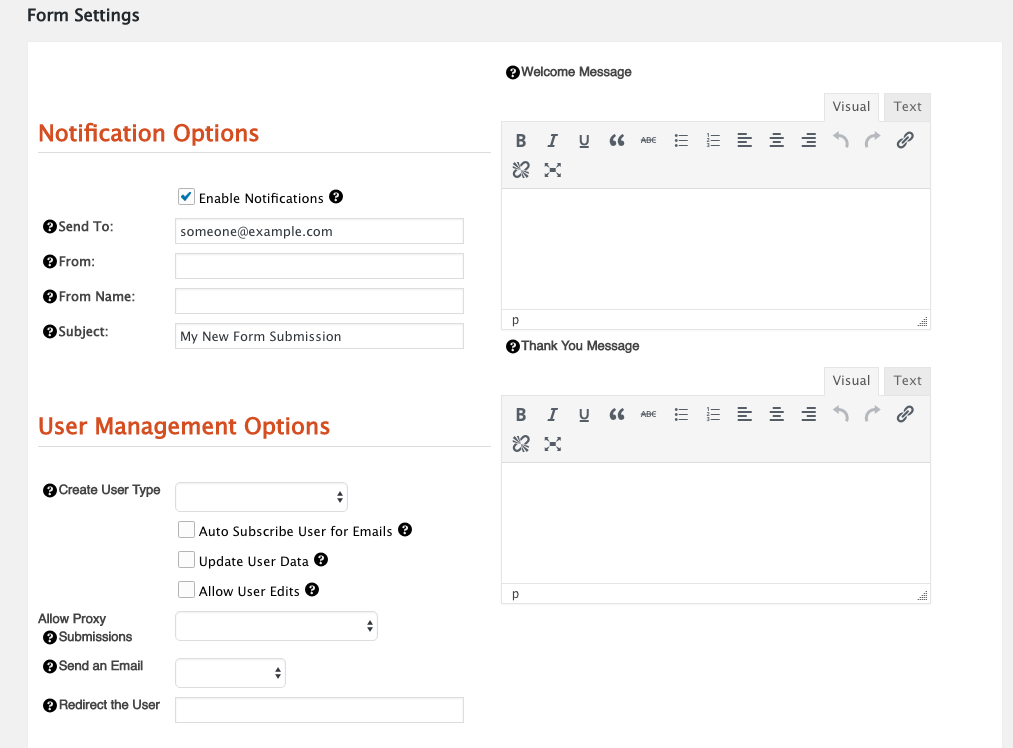
Here you can set all the options for a form including:
- Who should receive notifications and what those notifications should look like
- What type of user should be created by this form if the user does not already exist
- If they should be auto-subscribed for emails
- If their data should be updated without signing in (this should only be used if you know exactly what your are doing)
- If the user should be able to edit the form, save it and come back later to submit the form
- If the form can be submitted by someone other than the actual user (relationships proxies)
- If an autoresponder should be sent to the user
- If the user should be redirected somewhere
- A welcome and a thank you message for before and after submission
Next, you build the form. Below we have a simple field arrangement for a contact form. The blue fields are Profile Fields and will populate data on the user’s profile. The grey fields are general form fields and populate data just on the form (think of a survey that gets submitted more than once) – in the case of a contact form, the general form fields become the title of the contact submission and the content becomes the message that is sent and saved:
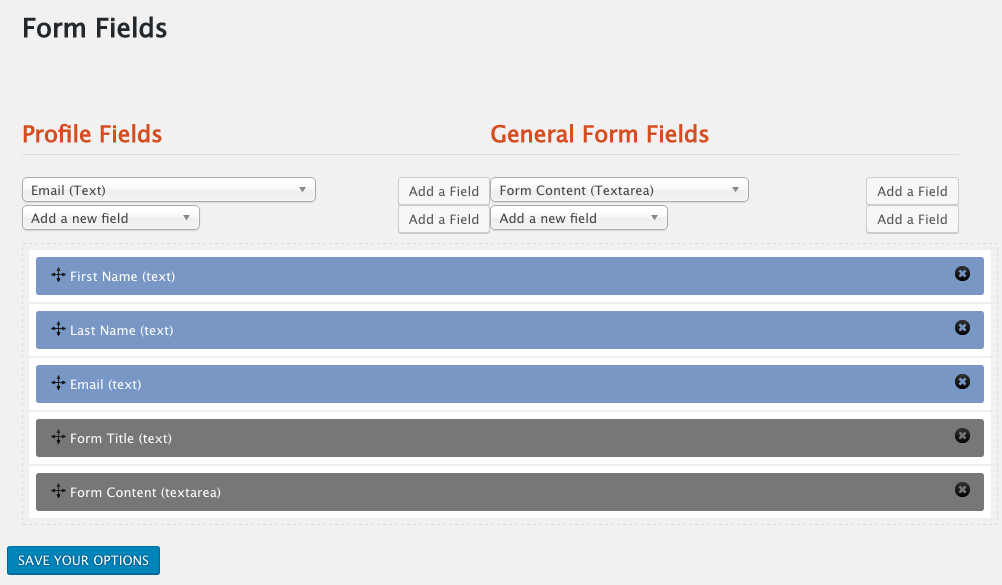
Once you have arranged your fields using drag-and-drop, you can save your options and then embed the form in any WordPress post or page using the shortcode:
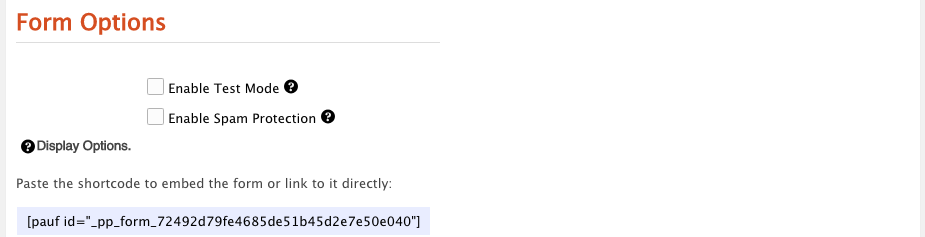
Further, you can enable spam protection through a simple math problem and you can also test the form in Test mode, which will allow you to observe the submission process without actually submitting data through the system.