MailChimp Integration
Presspoint has the ability to synchronize with MailChimp for flexible sending of broadcast email (one-to-many). We chose MailChimp as our go-to partner because it offers a rare bi-directional sync of data, which keeps the two databases in constant sync.
A few things that are important to understand about Presspoint and MailChimp:
- Presspoint and MailChimp sync “on event” meaning data is only exchanged when you update a profile in Presspoint OR in MailChimp. Practically speaking, if you had an existing list in MailChimp prior to installing Presspoint, you will need to manually sync the two databases in order for your Presspoint data to show up in MailChimp.
- Both Presspoint and MailChimp assume that all of your users will be contained in one place. For Presspoint, that means your Presspoint database. For MailChimp, that means a single list – while you can have multiple lists in MailChimp, Presspoint will only sync with one list as this is the recommended use case by MailChimp and makes sense if you consider that both systems have ample tools to segment a single dataset.
- You can choose to send emails from wherever and however you prefer – you can sync up to 36 of your Presspoint fields with MailChimp and you can send an email directly from Presspoint out through Mailchimp – you can even preview your MailChimp templates in Presspoint if you choose.
To get started.
MailChimp Setup:
- Create or Login to your MailChimp account,
- Create or access a list and retrieve your API key from the Extras menu
- setup templates (please see our dedicated article on that topic).
Presspoint Setup:
- Go to the MailChimp settings and begin to configure your integration.
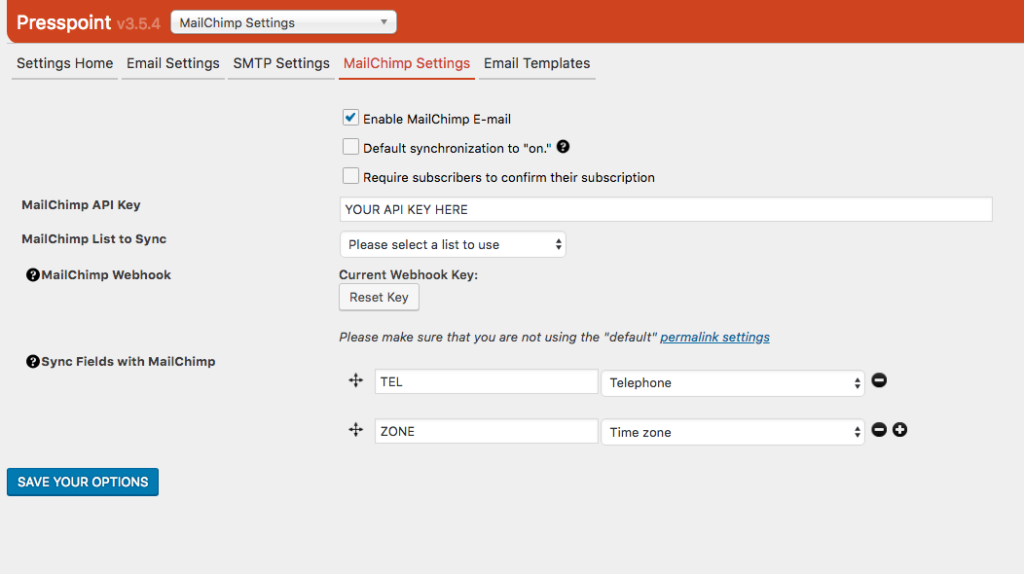
- Turn on MailChimp email
- Set sync default to On
- Select if you want to require users to confirm their subscription
- Enter your API key
- Save Your Options – Presspoint will then query MailChimp and present all available lists on your MailChimp account.
- Choose which List you want to sync.
- Optionally choose if you want to sync Presspoint fields with MailChimp – if you do, note that the text in the left-hand field should be a short “tag” for MailChimp to identify the field. On the right, you will select which Presspoint field you want to associate with that tag.
- Save your Options.
Initial Synchronization of MailChimp and Presspoint:
You only need to do this once. Afterwards, your users will stay in sync. There are two options to consider:
Import/Export:
- If you already have users in MailChimp that you want to sync to Presspoint, Export those users from MailChimp and Import them into Presspoint.
- If you have users in Presspoint that you want to sync to MailChimp, Export those users from Presspoint and Import them into MailChimp.
Presspoint Bulk Edit
- If you have users in Presspoint that you wish to sync to MailChimp, run a report to pull those users from the database
- Go to the “Edits” tab and select the field “Subscribe to email updates” and set the value to “yes” and run the edit. This will loop through all those users, add them to MailChimp and sync any fields that you are sharing with MailChimp
MailChimp Templates
You can easily set up a template in MailChimp for use by Presspoint. Be aware that the predominant use case is to send simple, bulk emails that contain content from Presspoint in one main area of the template.
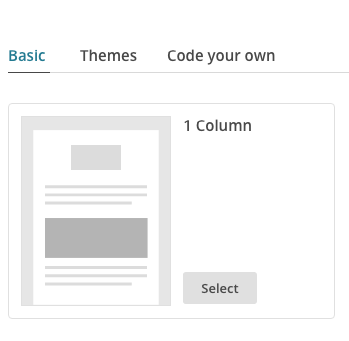
First, select a template from the MailChimp library.
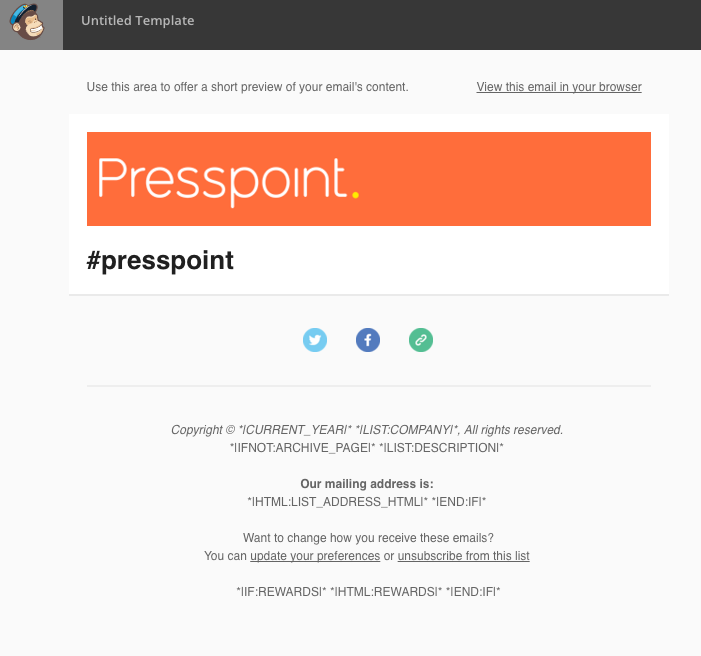
Next, you can customize the template to your liking, the only thing you must do is include the hash tag #presspoint in the content area where you want content from Presspoint to fill in.
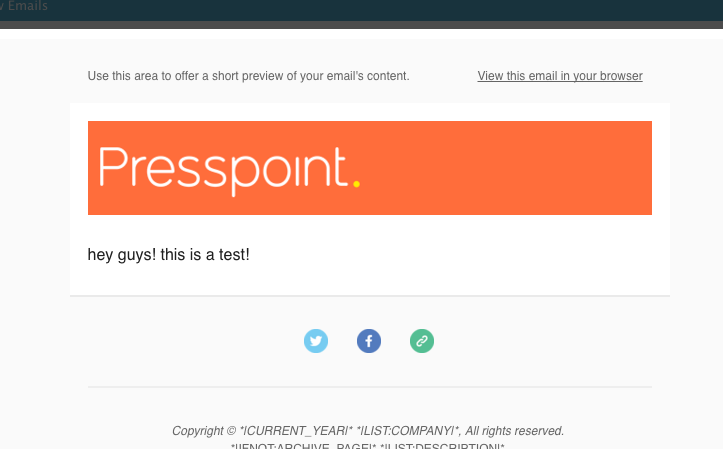
Now, save your template and when you next go to Presspoint to send an email from MailChimp you’ll see it on the list:
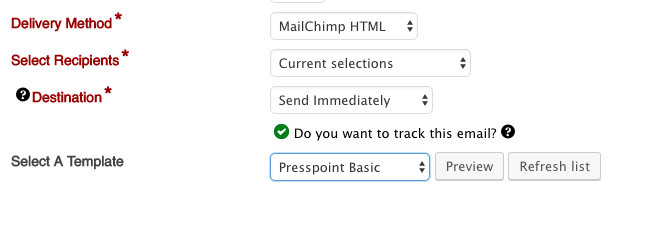
And clicking “Preview” will show you your template with your content included.