Directory Setup
Creating a directory is a series of simple steps; first you’ll run a report and save a query, next you’ll set the display preferences and third, you’ll set how the results will appear.
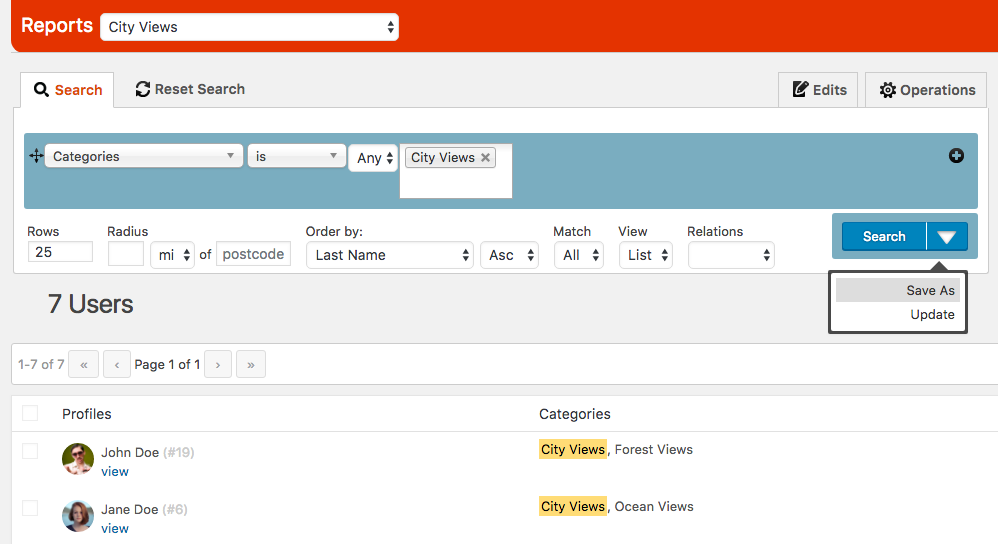
Run a Report and Save a Query
The Query that you choose determines the data you display. As a subset of your database, any searches run against your directory will only show results from this Query. When sorting directories, the sort order and the number per page is set by the queries so, arrange and save your queries exactly how you want them to display.
For example, if you want to show 10 records per page and sort the entire directory by Last Name, then be sure to set those aspects of the query when saving it via the Reports section. When you are ready to save the Query, click the down arrow beside the “Search” button and choose “Save” and be sure to set the Query to be available to all Presspoint Administrators.
Display Preferences
Display preferences is where you set the base query for your directory, the type of object you will be showing (eg. user or content), how you will show that content and other options like searching (eg. the Search Box) or mapping (eg. the Google Map option). Additionally, you can choose to preload the query so that your directory shows data as soon as someone visits the page or, you can require the user to perform a search first to get results. Further, you can override the Base Query rules to ensure that you show all results on the page by checking the (No pagination) option.
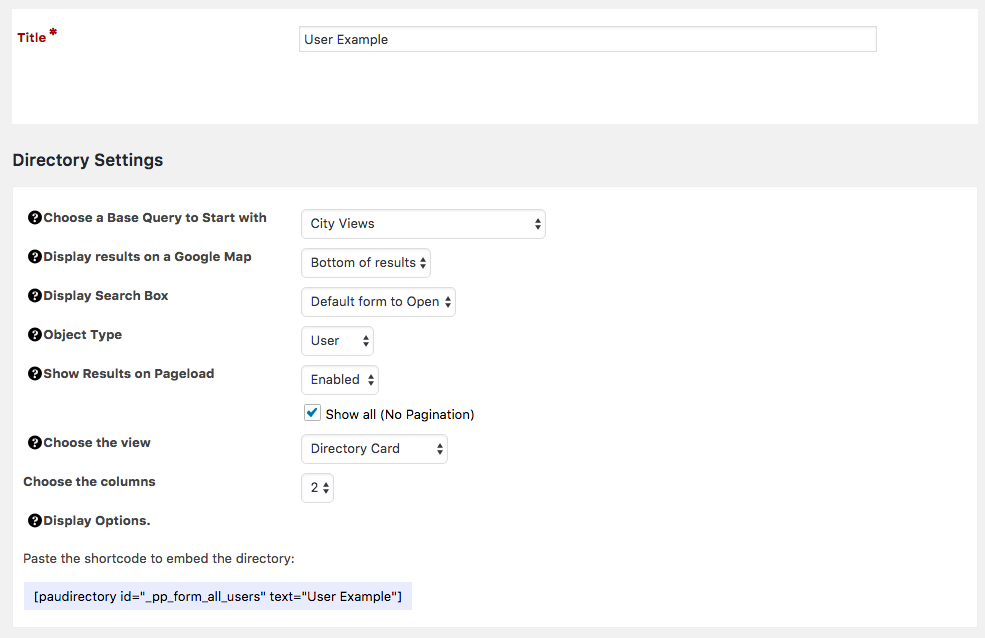
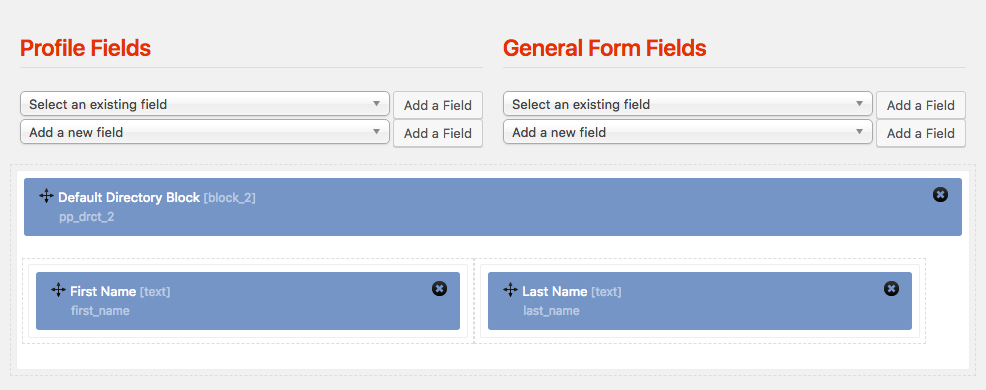
If you are allowing searches of your directory, you will want to use the standard form builder to organize the fields you want to allow your users to access.
Choosing the View
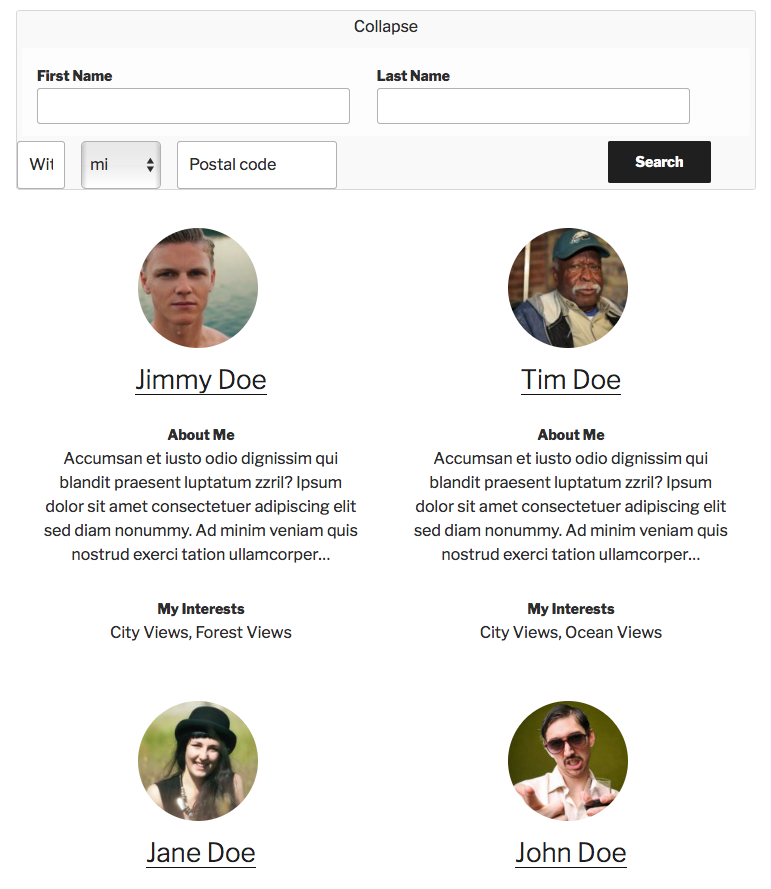
The default display shows your directory as a table view, similar to what you see as an administrator in the Reports section. However, you likely will want to present a more visual representation of your users. In this case, you’ll likely want to select a card to show your results – for user object searches you’ll want to use a Profile Card, for content searches you’ll want to use a Content Card. The end result can be completely styled via CSS.